
Contouring is a makeup technique that involves using shading and highlighting to enhance and sculpt the face. It has become a staple in many people’s makeup routines, and for good reason. When done correctly, contouring can bring out your best features, create symmetry, and give you a more defined and chiseled look. In this guide, we will cover the basics of contouring and provide a step-by-step guide to help you achieve the perfect contour.
Contouring is the process of using makeup to create the illusion of depth and dimension on the face. It involves using a darker shade to create shadows and a lighter shade to highlight and bring forward certain areas of the face. When done correctly, contouring can enhance your best features and give you a more defined look.
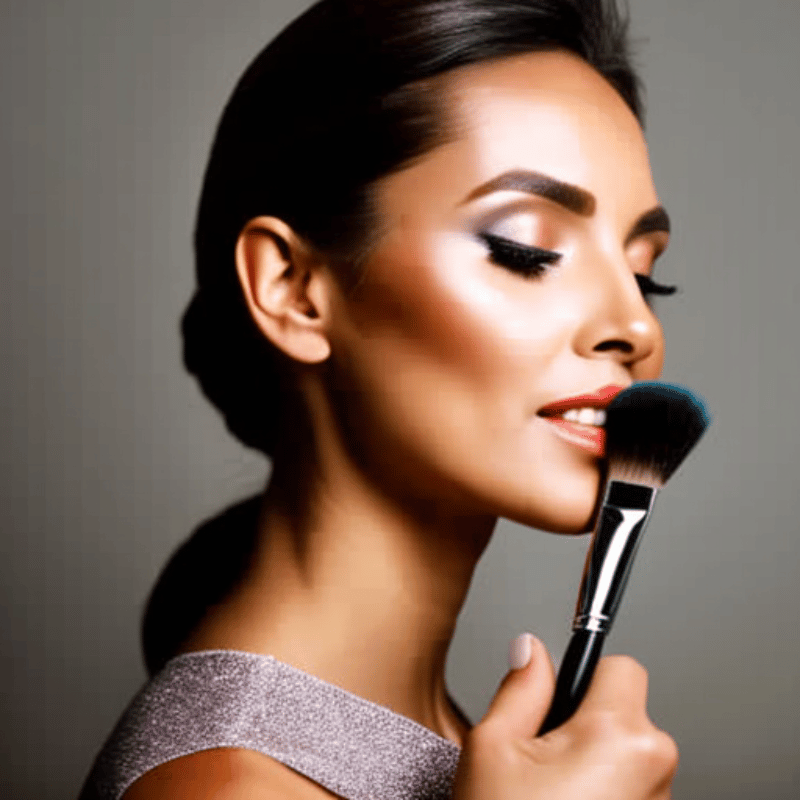
Step-by-Step Guide to Contouring
Step 1: Choosing the Right Products
The first step in contouring is choosing the right products. You will need a contouring product, such as a bronzer or a contouring powder, and a blending tool, such as a brush or a beauty sponge. It is important to choose a product that is a few shades darker than your natural skin tone and has a matte finish. This will ensure that your contour looks natural and does not appear shiny or fake.
Step 2: Preparing Your Skin
Before you start contouring, it is important to prepare your skin. Make sure your skin is clean and moisturized, and apply your usual base makeup, such as foundation and concealer. This will create a smooth and even canvas for your contour.
Step 3: Placement of Contouring Products
To determine where to place your contouring products, imagine a line from the top of your ear down to the corner of your mouth. This is where you will apply your contour product. You can also place contour along your hairline, under your cheekbones, and along your jawline to create the illusion of a more defined face shape.
Step 4: Blending is Key
Blending is the most important step in contouring. You want to blend your contour product seamlessly into your skin, so it appears natural and not too harsh. Use a blending tool, such as a brush or a beauty sponge, to blend the product into your skin, making sure to blend upwards and outwards. The goal is to create a shadow effect, not a stripe.
Step 5: Highlighting
Highlighting To complete your contour look, you can add a highlight to the areas of your face that you want to bring forward. This includes the tops of your cheekbones, the bridge of your nose, and your cupid’s bow. Use a highlighting product that is a few shades lighter than your skin tone and apply it with a brush or beauty sponge.
Common Contouring Mistakes to Avoid
One of the most common contouring mistakes is not blending properly. It is important to blend your contour product seamlessly into your skin so that it appears natural and not too harsh. Another common mistake is applying too much or too little product. Start with a small amount of product and build as needed. Choosing the wrong shade is also a common mistake. Make sure to choose a shade that is a few shades darker than your natural skin tone to ensure a natural and believable contour.
Conclusion
Contouring is a makeup technique that can enhance and sculpt your features, giving you a more defined and chiseled look. By following these simple steps and focusing on blending, you can create a natural and stunning contour. Don’t be afraid to experiment and play with different products and techniques to find what works best for you. With practice, you will become a contouring pro in no time!